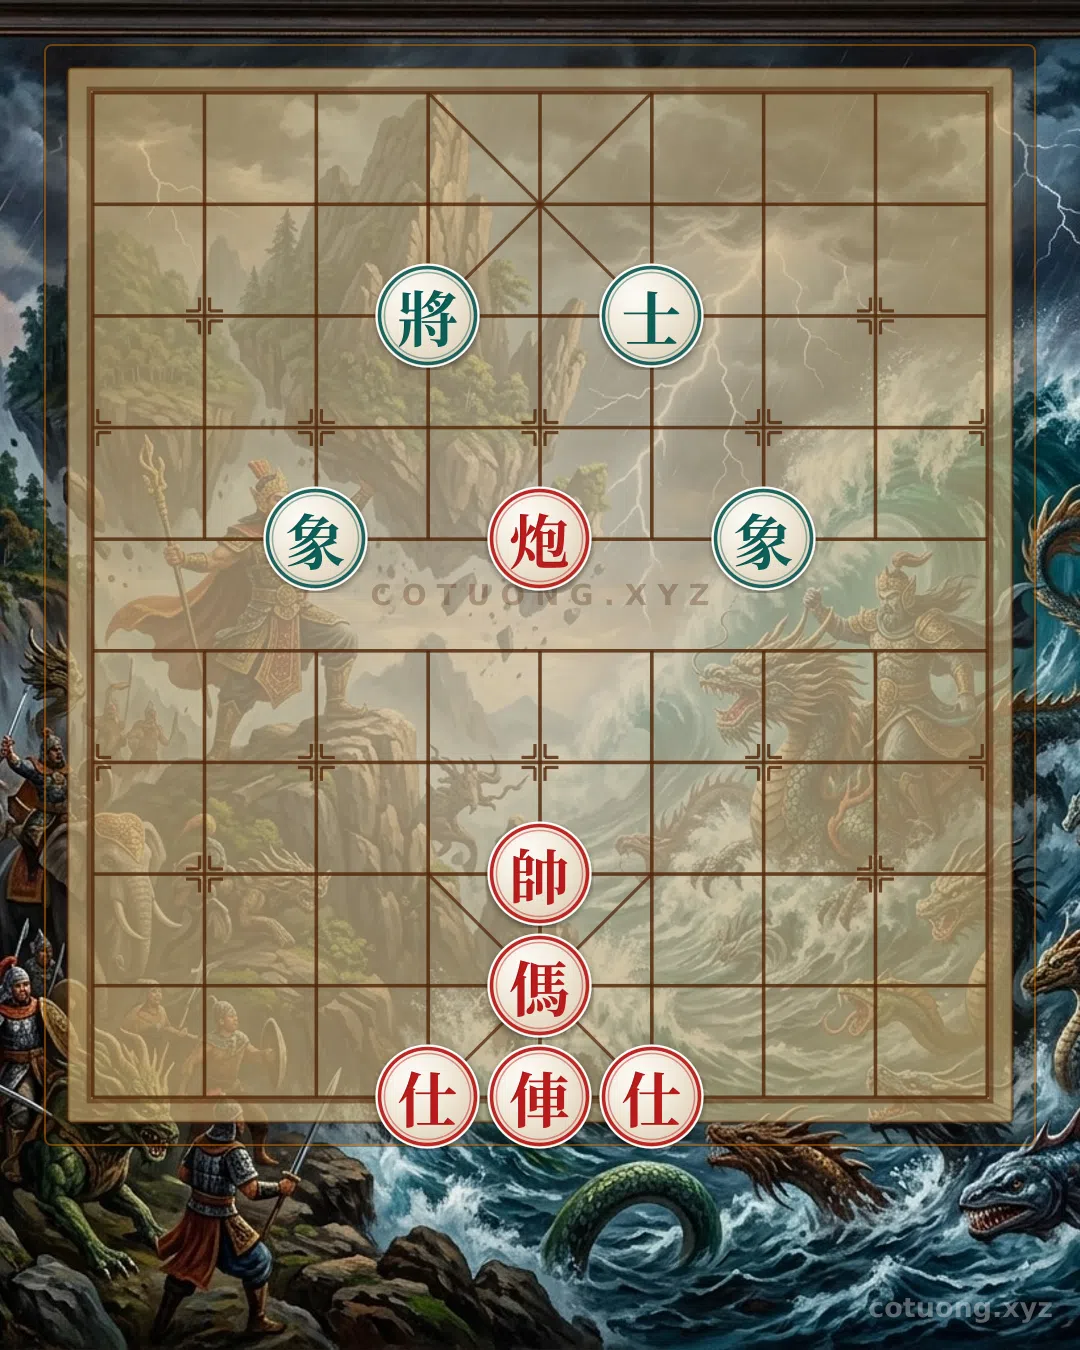
Challenge: RED'S FORTRESS: "THE FIRST PROGRAMMED SOLUTION TO THE MOST FAMOUS PROBLEM – AND IT CAN EVEN INCREASE QUANTITY LIKE A CARD!" - Can you solve it?
This formation is a *deadly board* for beginners, but also a *shocking move* for experienced players. Red takes the lead with a *short but fierce* force, while Black relies on the *rigidity of its two bishops*. But beware, this formation is where *one small mistake* can make the entire game fall into the opponent's hands. Let's explore why this is a *formation that demands the player's resolve* and how Red not only maintains initiative but also *tears apart the opponent's defensive area*!
COTUONG.XYZ